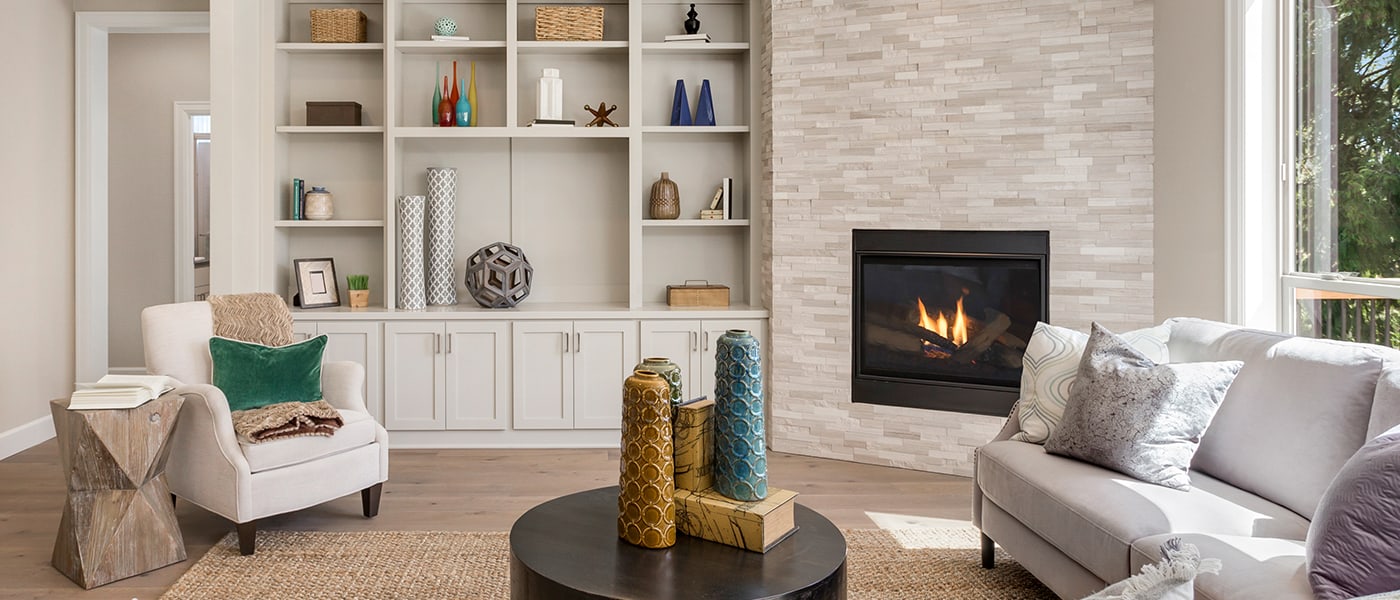
The real estate market is hot right now with properties getting bought left and right! If you’re a homeowner considering selling then you’re in luck. One of the best ways to get your property sold quickly is by taking home staging photos. In order to do that, we’ll be breaking down how to home stage every room.
What Is Home Staging?
Home staging is reorganizing your home so that you can take the best-looking photos of the property. This is extremely important because you want the best-looking version of your home to be shared with potential home buyers. Home staging services can include buying new furniture, reorganizing the theme of the home and refurbishing items. All of these things work in tandem to create the perfect image of your home. By only allowing the best version of your home to be shared online then it will attract buyers. This is the quickest way to sell your home if you’re in the market.
Bedroom Home Staging
The first tip in how to home stage every room is to deep clean every room. Make sure that everything is spotless when photos are being taken. Remember, these photos are being shared with potential buyers online. Next, make sure any curtains and bedsheets are correctly folded. Having a messy room will not help the home buying process. Also, make sure that your belongings aren’t cluttering the room. Consider donating or selling unwanted items to cover any costs associated with home selling. Having fewer things in your home will help your home look its best during home staging photos.
The same can be said for furniture around the home. It’s best to only include pieces of furniture that aren’t worn out or have stains. If need be, then refurbish or purchase new furniture. Only exclude certain pieces of furniture as a last resort during the home staging process.
Lighting For Home Staging Photos
Home staging isn’t just taking photos. It’s using bright lighting to make your home look sleek. Make sure to use natural lighting for photos. Open up the windows and curtains for maximum exposure. If need be, then use flash photography for extra needed lighting. Having bright lighting also creates a glossy feel that many gravitate towards. The secret ingredient in home staging is home lighting. Once the home staging project is completed then you’ll see the wonders that lighting does. It’s best to take home staging photos during daylight hours. Preferably, take home staging photos in high-noon.
Exterior Home Staging
How to home stage every room includes the exterior of the home. Make sure that the front and backyard are clean during the home staging process. If your home has a lawn then make sure it’s a healthy green and trimmed. For anyone with trees in their home then make sure that there isn’t any debris, trash and dead leaves in the exterior. This is why it’s best to deep clean the interior and exterior of the home weeks in advance. The home selling process takes some time, so prepare yourself with the most time. This is the best way to ensure fewer headaches and stress.
Picking A Time & Day
The last tip in how to home stage every room is to pick a time & day. Take your home staging photos on a clear sunny day during high-noon if possible. Check the weather ahead of time before finalizing the home staging process. Allowing the most lighting will help attract home buyers. This will create a bright environment inside the home that’s welcoming to others. Next, pick a time when you’re free for a few hours. Each room and the exterior of the home requires enough time for the perfect home staging photos. So, give it the proper time it deserves. This will only help the home staging and selling process!
